
Homemade Braided Challah

Homemade Braided Challah
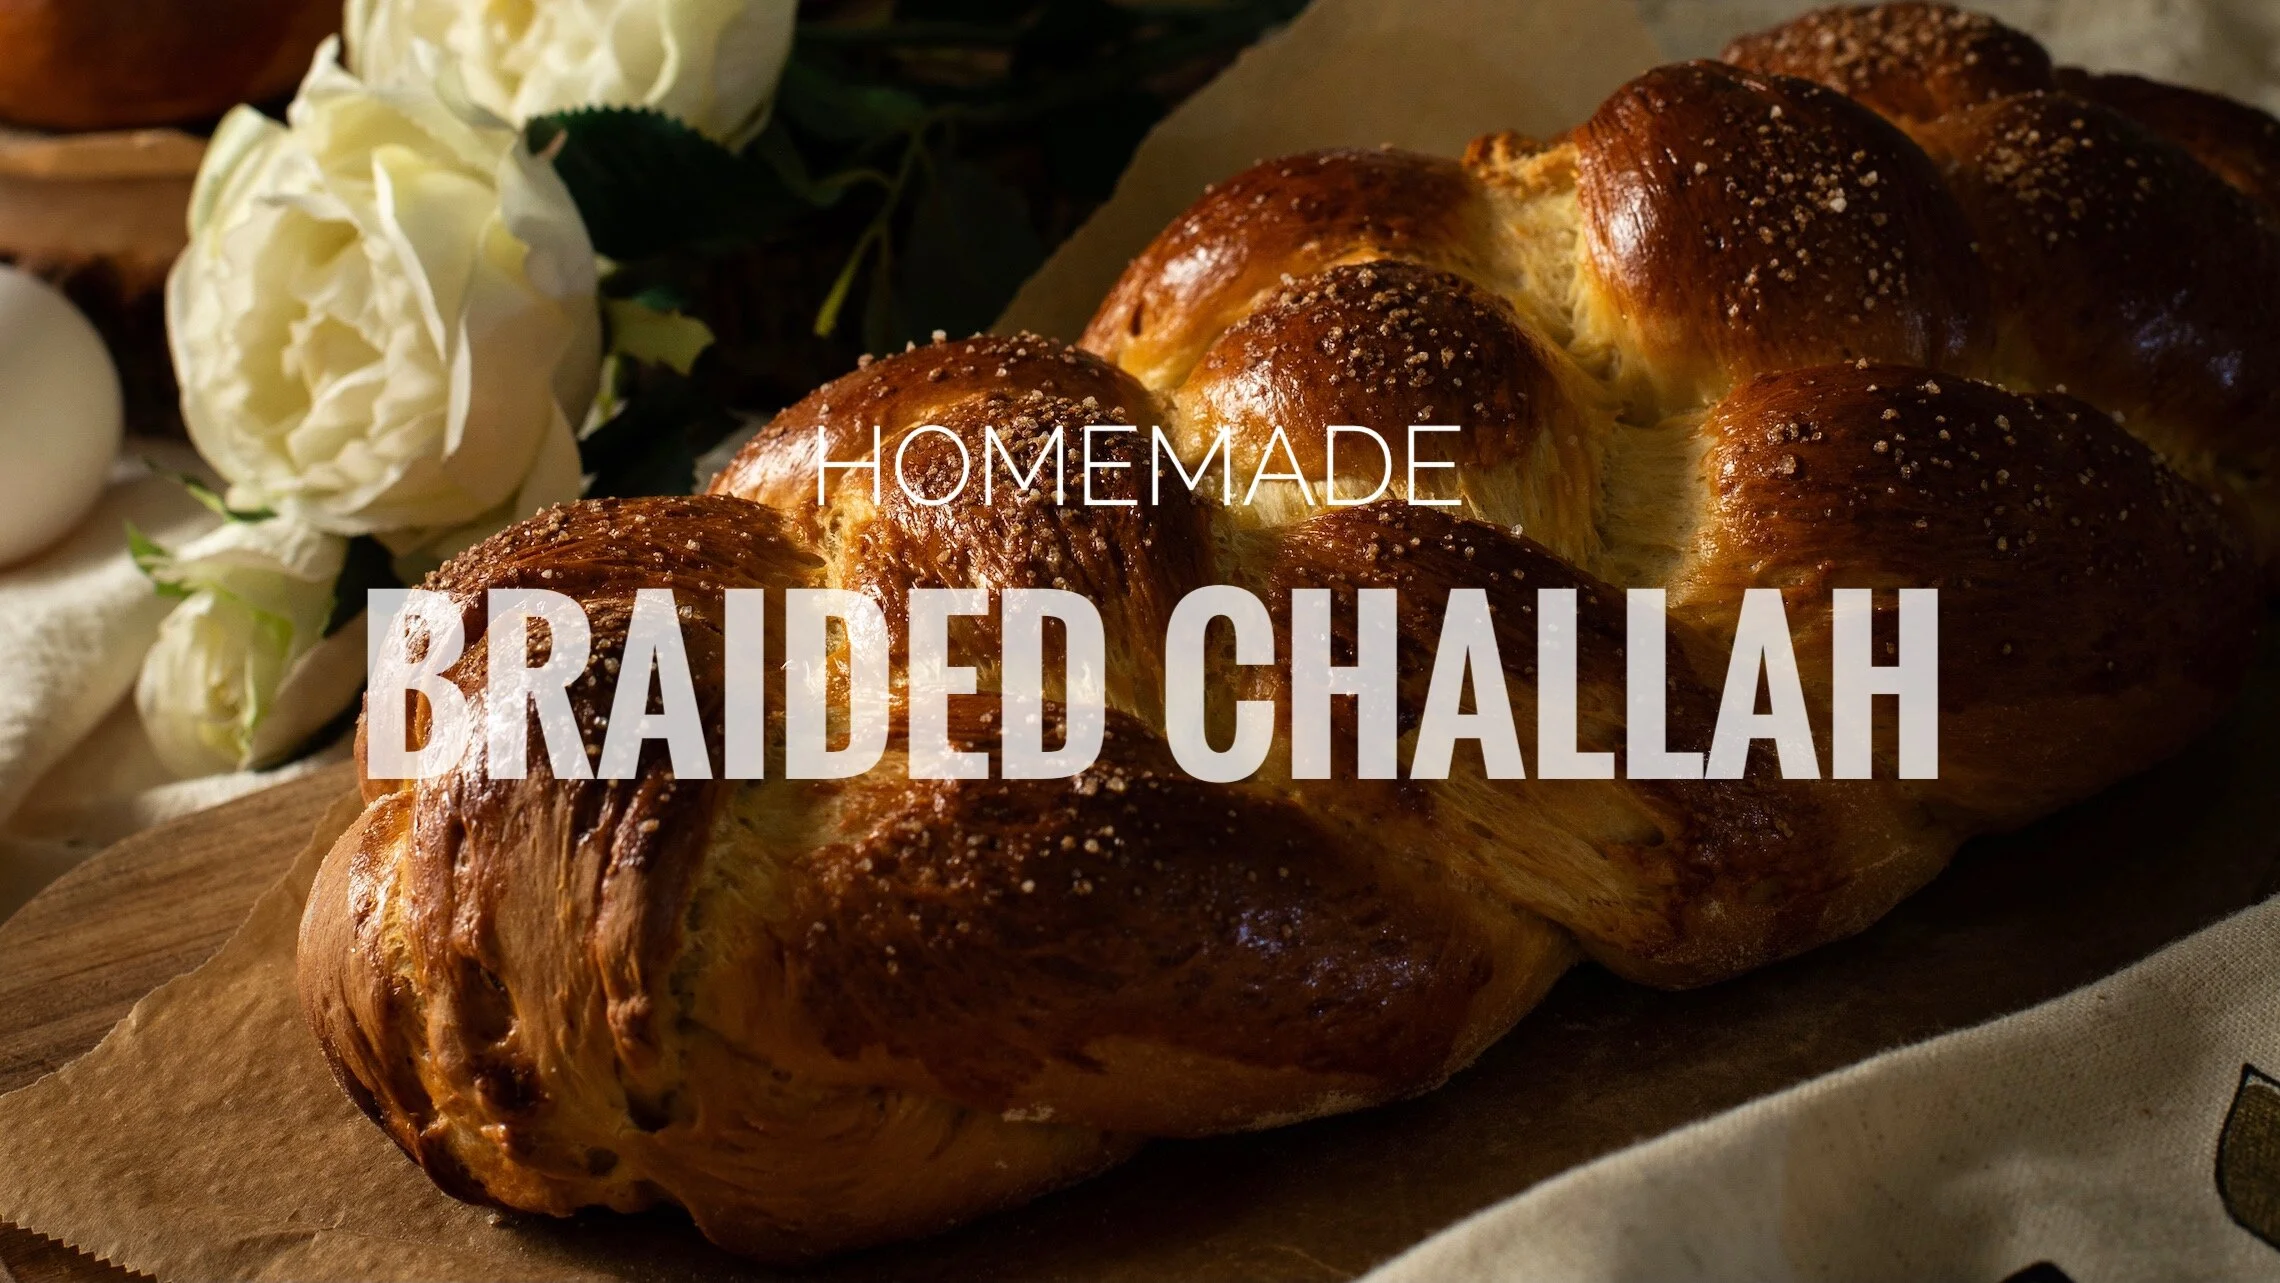
This is one of those timeless breads that can never go wrong! I love its subtle sweetness, fluffiness and delicate buttery flavor. Coffee time and teatime are perfect moments to enjoy a good slice of Challah… I personally love spreading it with butter and a small sprinkle of sugar and cinnamon.

Homemade Braided Challah
Plus! Making these loaves is fun! You can braid them any way you want to. Braid it, twist it, tie it into a knot…
This recipe allows for two loaves of Challah. You decide how many strands per loaf, depending on the braid you want to create. In my video below I divided one half of the dough into three pieces for a normal braid, which I then looped into a ring. The other half I divided into four strands for a wider bread. Once this dough is done rising and browning in your oven, it will be so beautiful you will not want to cut into it. But please do! Enjoy!!

Homemade Braided Challah
Slice! Spread on you faves on this baby!

Homemade Braided Challah
Ingredients
- 3/4 cup Milk (warm)
- 1 Tbsp Sugar
- 1 Tbsp Instant Dry Yeast
- 1/2 cup Butter, softened
- 1/4 cup Honey
- 1 Egg
- 2 Egg yolks
- 1/2 tsp Salt
- 3 1/2 cups All-purpose Flour
- Egg wash (1 egg + 1 Tbsp water) for brushing
- Sugar for final sprinkle
Instructions
- In a large bowl, mix the milk, sugar and dry yeast. Mix gently and let sit for about 5 minutes, or until frothy. If there is no reaction after 5 minutes, this means your yeast is not viable. You would have to throw out this mixture and start again.
- After the yeast has done its thing, add the butter, honey, egg, yolks, salt and flour. Mix well first with the spoon and then by hand until all ingredients come together.
- Transfer dough to a lightly floured surface. Knead for about 5 minutes until you have a smooth dough.
- To your mixing bowl, add a small drizzle of olive oil to coat. Add your dough to the bowl, cover with a clean cloth and let it rise for about 2 hours until doubled (or more!) in size.
- Turn the dough onto a floured surface, kneading lightly to deflate and bring together into a ball. Cut this into two pieces.
- Now here's the fun part! Each piece is for one loaf of bread. You decide how you are going to braid it. So cut each piece into the number of strands you will need for each braided loaf. In my video I did a simple 3 strand braid, which I looped into a ring. The other piece became a 4 strand braid.
- Once you cut the number of pieces you need, roll each one into long strands, tapering off at the ends. If your dough is springing back, just let it rest for 5 minutes and then try rolling it again.
- Braid each loaf to your liking, and remember to pinch and tuck the ends really well, as they can come undone while the bread rises in the oven. Place each braid on parchment lined cookie sheets.
- Cover the loaves with a clean cloth and let them rise for 30 minutes.
- 10 minutes before the rising time is done, Preheat your oven to 180C/365F
- Beat your egg wash and brush each loaf, coating completely. Sprinkle a little sugar over the egg wash
- Bake for 20-25 minutes. Check halfway through the baking, if the crust is getting too dark, tent it with tin foil for the rest of the time to prevent burning.
- Remove the trays from the oven and transfer the loaves to a cooling rack. Let them cool for 10 minutes before serving.